If you have read my earlier posts (
Part 1 &
Part 2), you will know that, for my thirtieth birthday, my husband and I threw a Game of Thrones-themed house party. Being presently immersed in the book series, I was excited to find ways to bring out a crafty side of things that would allow me to geek out on multiple levels.
One night, I had the brainstorm to buy Game of Thrones-branded pint glasses as party favors. A quick Google unearthed that these can cost about $10 each on the HBO site. A bit rich for my blood, I would say! Especially as we were expecting about 40 people, I wanted to have glasses available for all without breaking the bank.
I was still riding the high of my purchase of $1 stemless wine glasses from Dollar Tree (of which I had 36 remaining) so I figured, why not take some of those and some
discount pint glasses and find a way to etch them? For those new to this technique, etching glasses is done by applying a stencil and painting with an etching solution, letting it set, and washing it off so the design is actually 'baked into' the glass.
The hardest part of this project was figuring out what design I wanted, and deciding how I can get them accurately presented on the glass. I am sure you can make the stencil at home if you have a crafting machine (and design skills), but that is not something I am equipped to handle. Instead, I reached out to
Dana of decalsndecor on Etsy, who was extremely helpful in getting me exactly what I needed.
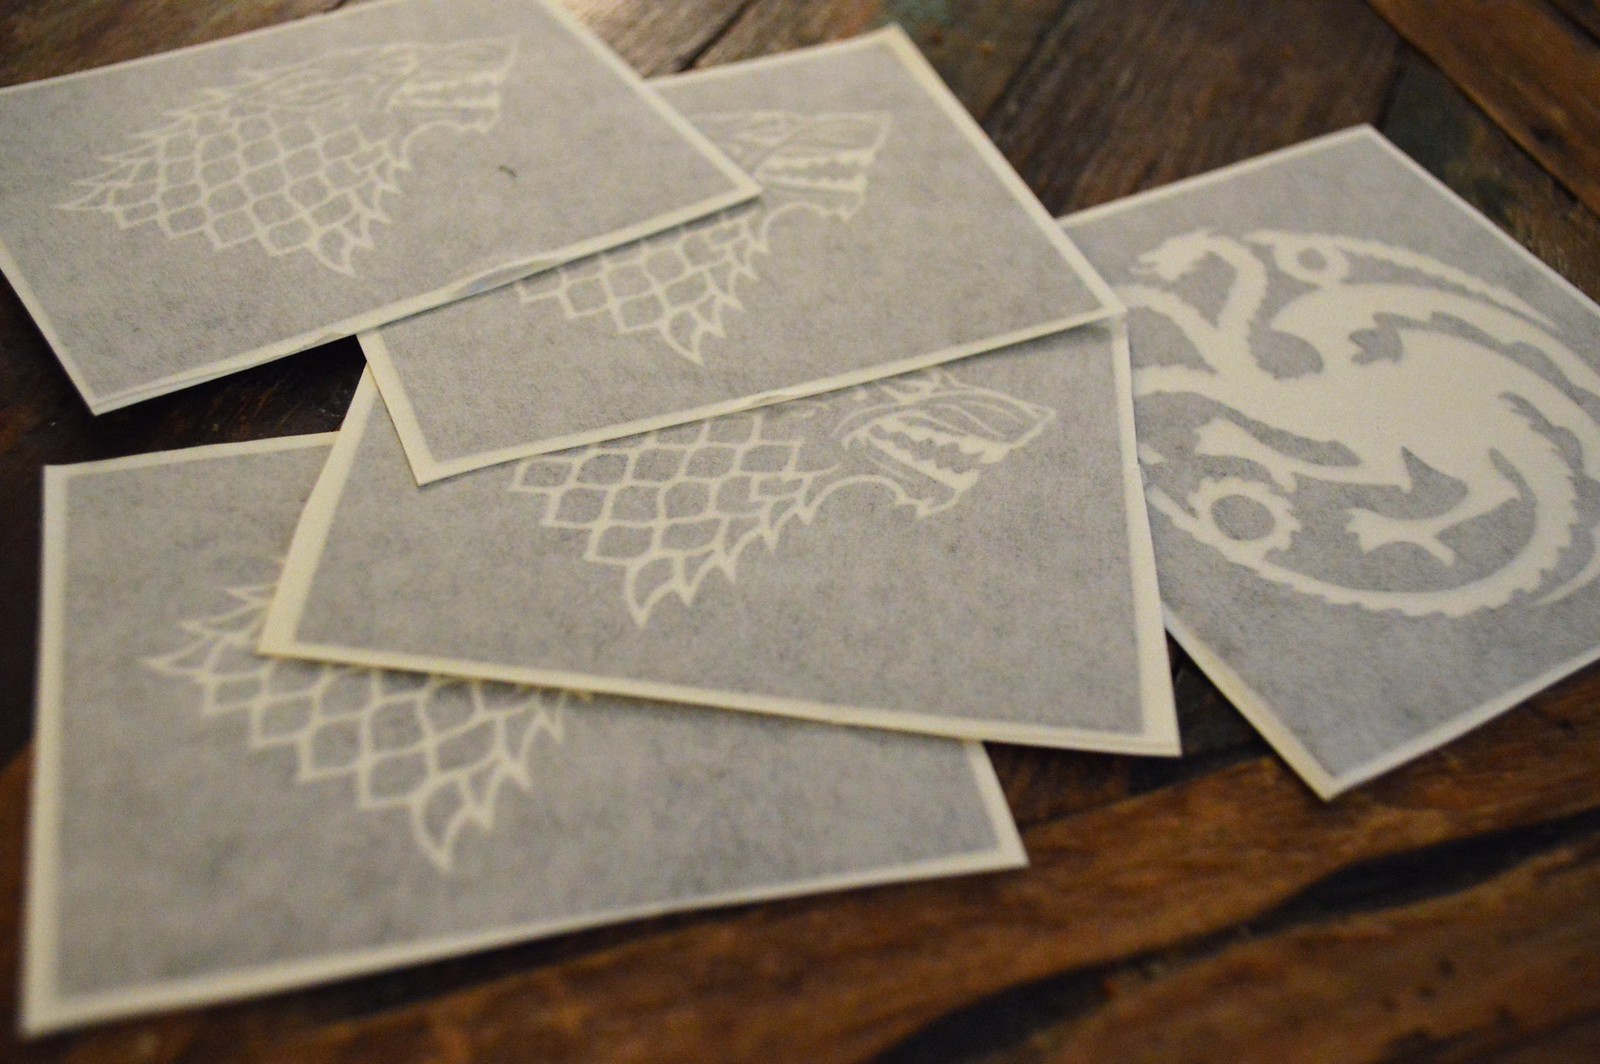
I knew I wanted a mixture of both Stark and Targaryen sigils, so I sent the HBO version of the sigils as a reference. Dana was able to create custom vinyl stencils for me for use on the glasses, and I ended up ordering twenty of each, forty total, for about $29.
Once receiving those, and following the directions provided by Dana, I started by running all of the glasses through the dishwasher to make sure they are free of dust.
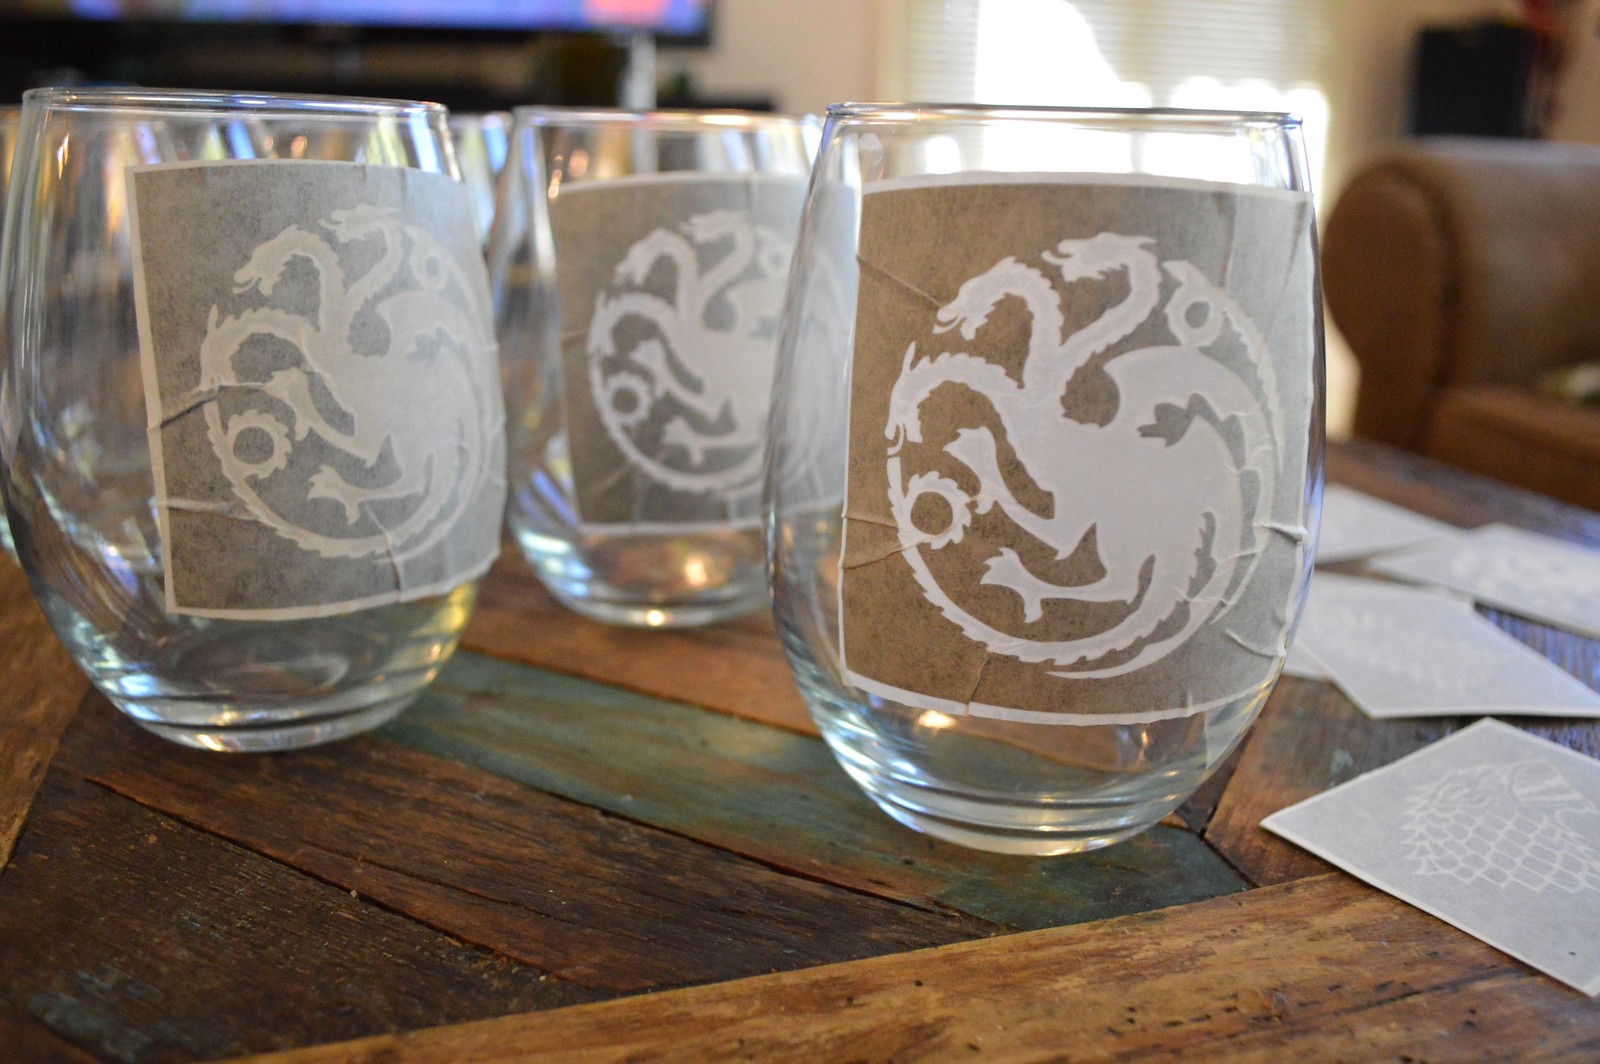
Once clean, Ryan and I assembly-lined applying the stencil to the glass. This is done by peeling off a protective layer on the back and carefully spreading from the middle outward. The goal here is to ensure that the border around the design is stuck very closely to the glass so that the etching solution does not slip into an air bubble and etch outside of the design boundaries. After applying, we used a credit card to ensure that it was on tightly.
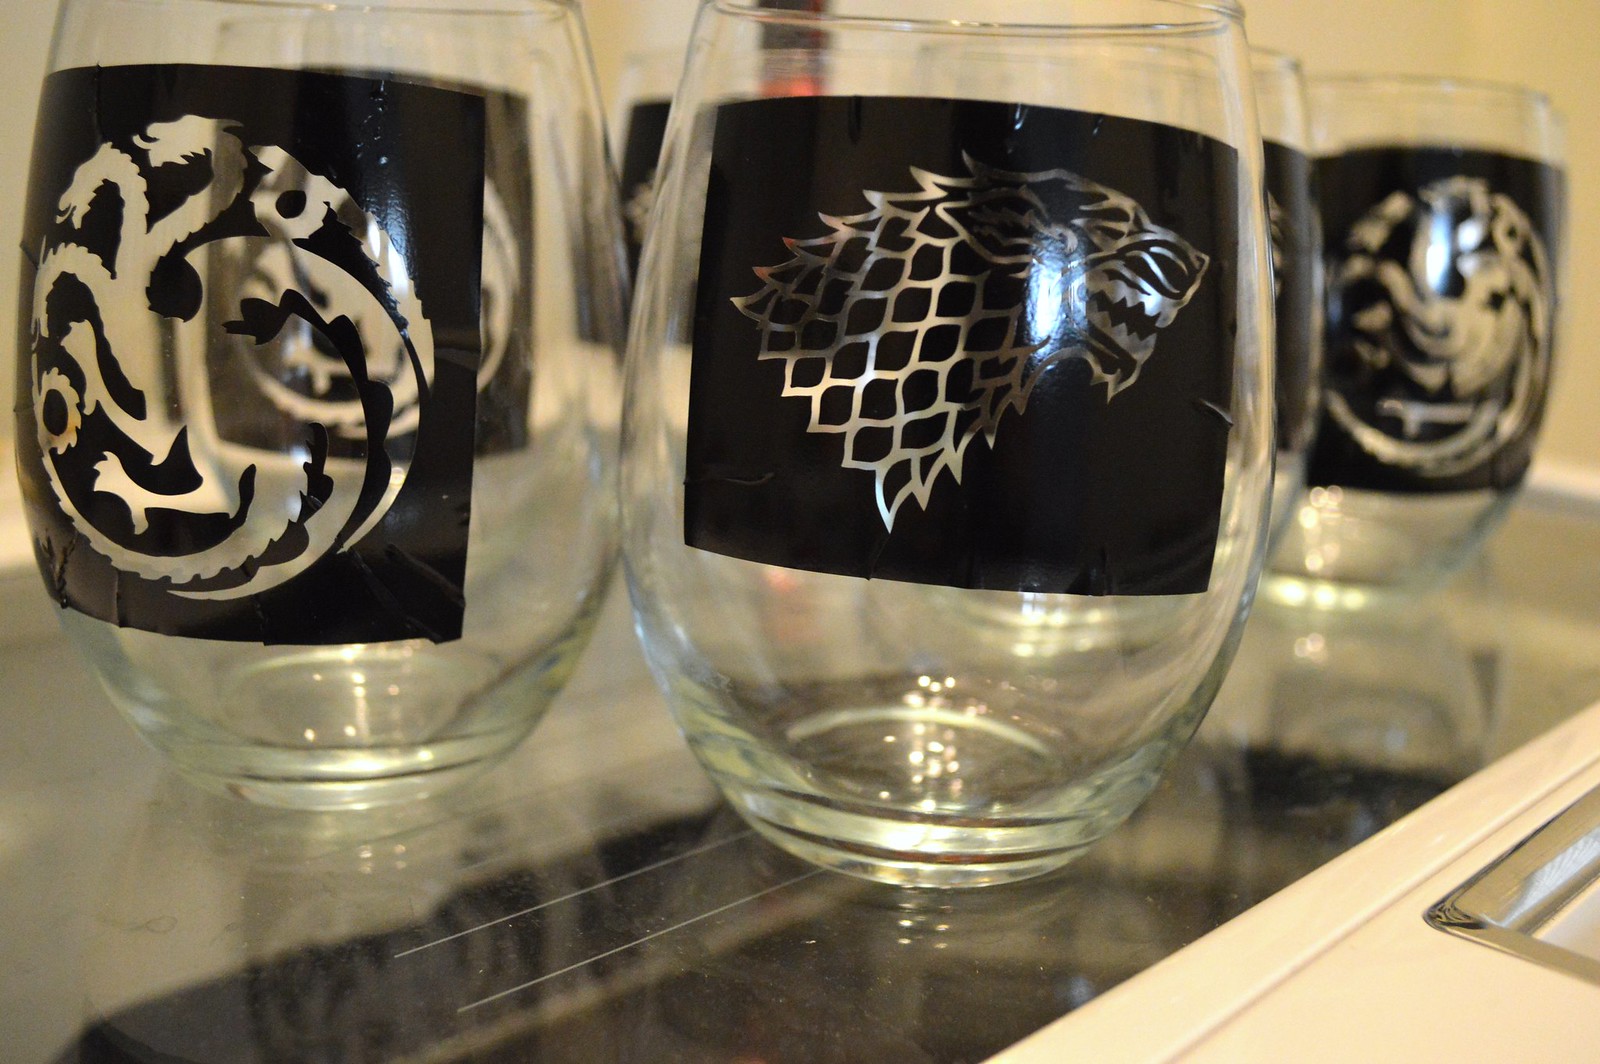 |
| Laundry room chic. |
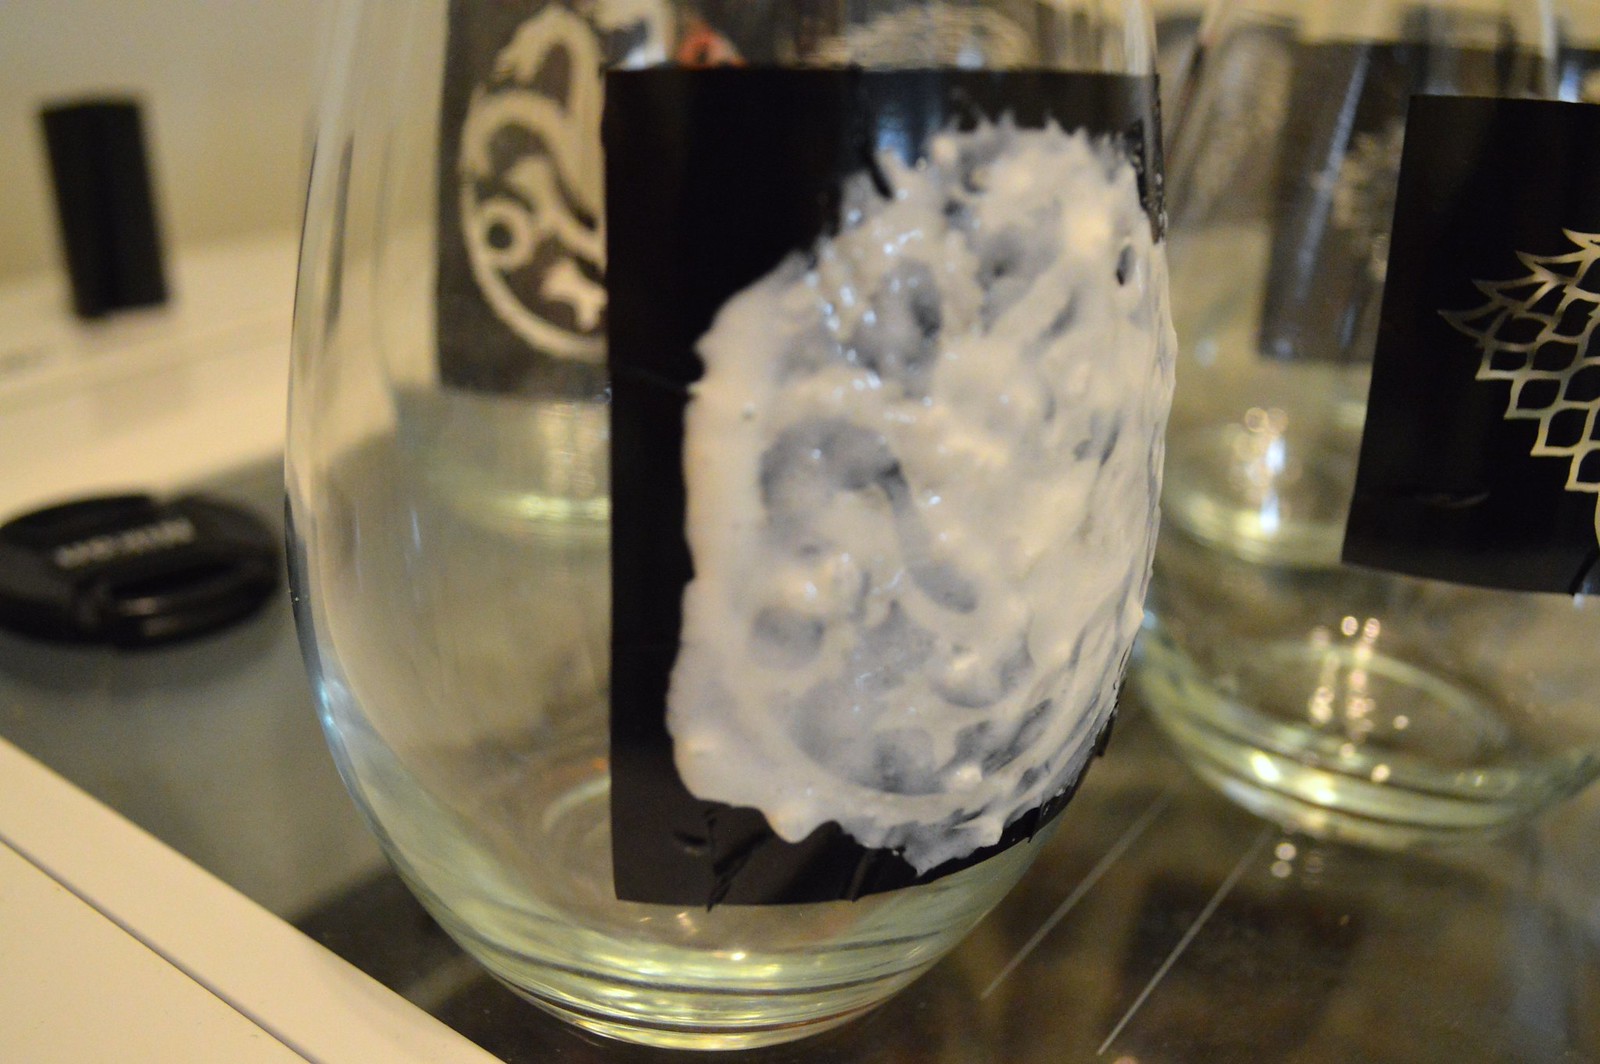
After peeling the top protective layer, I painted on the etching solution. The most popular I found was Armour Etch, which will run you about
$10 for 3 ounces at JoAnn Fabric (or $5 if you download the app, as they are always posting 50% off coupons). I found 3 ounces to be the perfect amount for this project.
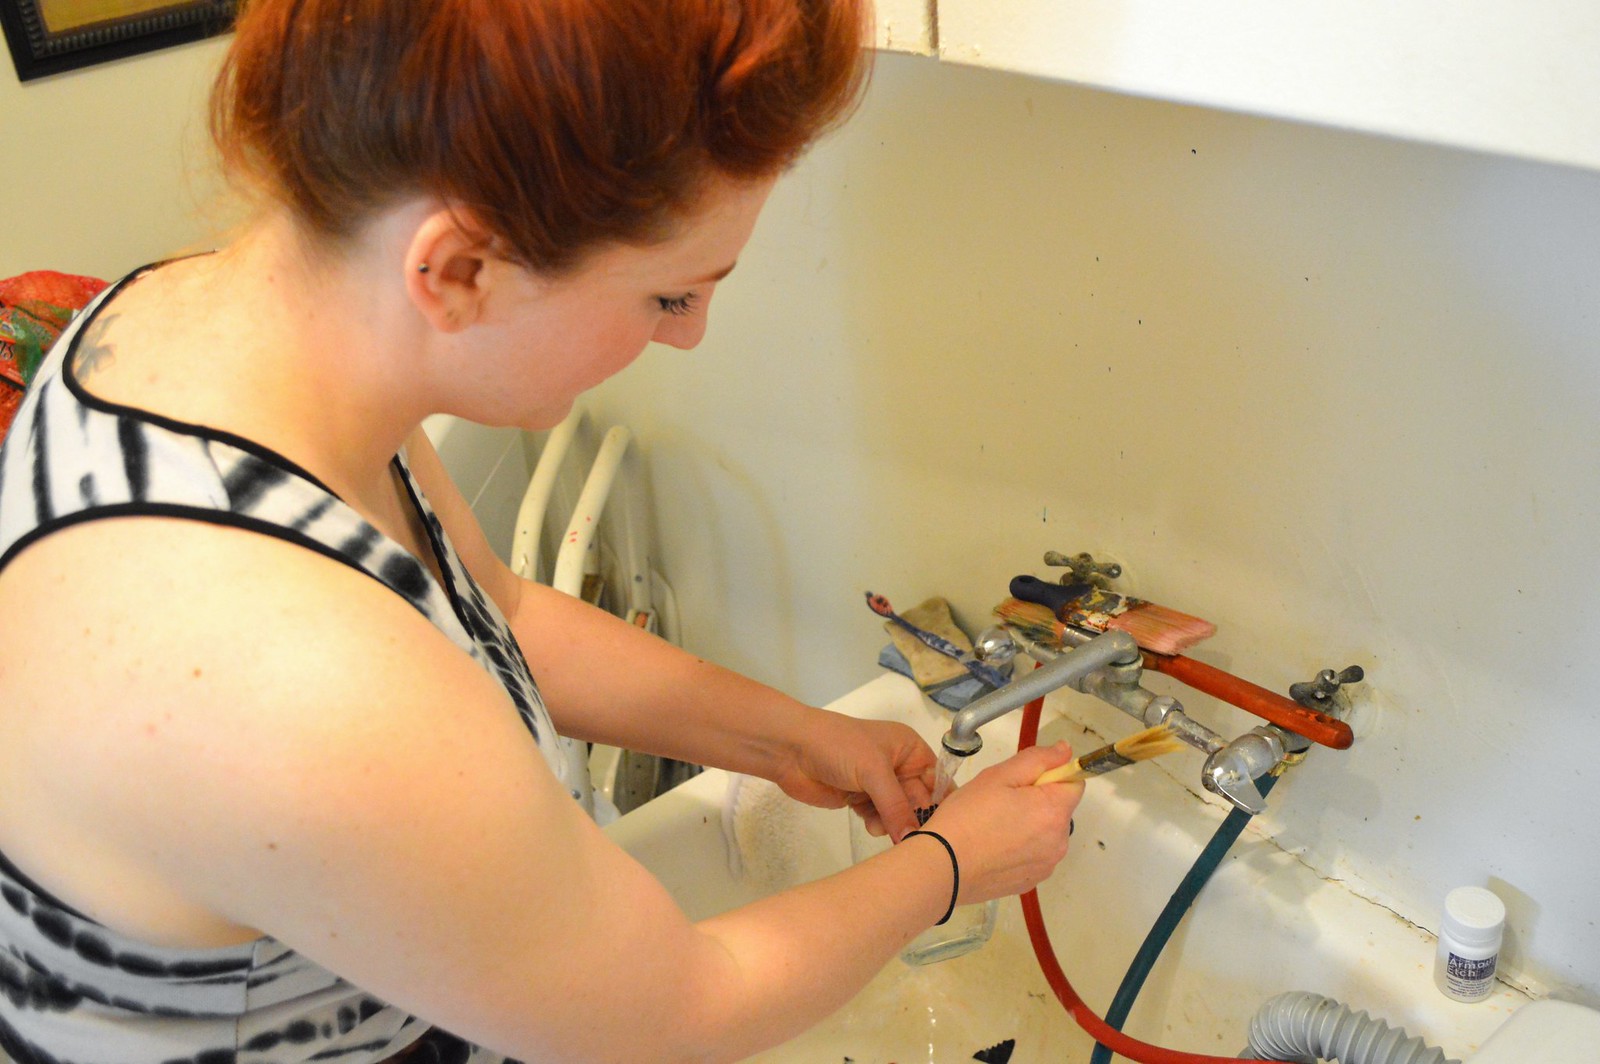
After painting on, I let the glasses sit for about 5 minutes each (give or take). I did a test glass and found that the 2-3 minutes I first tried left the design far too faint. 5 minutes worked perfectly. The big warning I kept reading at this stage was to be careful about the surface you use this on, as the etching solution will damage many surfaces. We have a pretty junky utility sink, so it was fine for me. That said, note the hearty, obligatory warning.
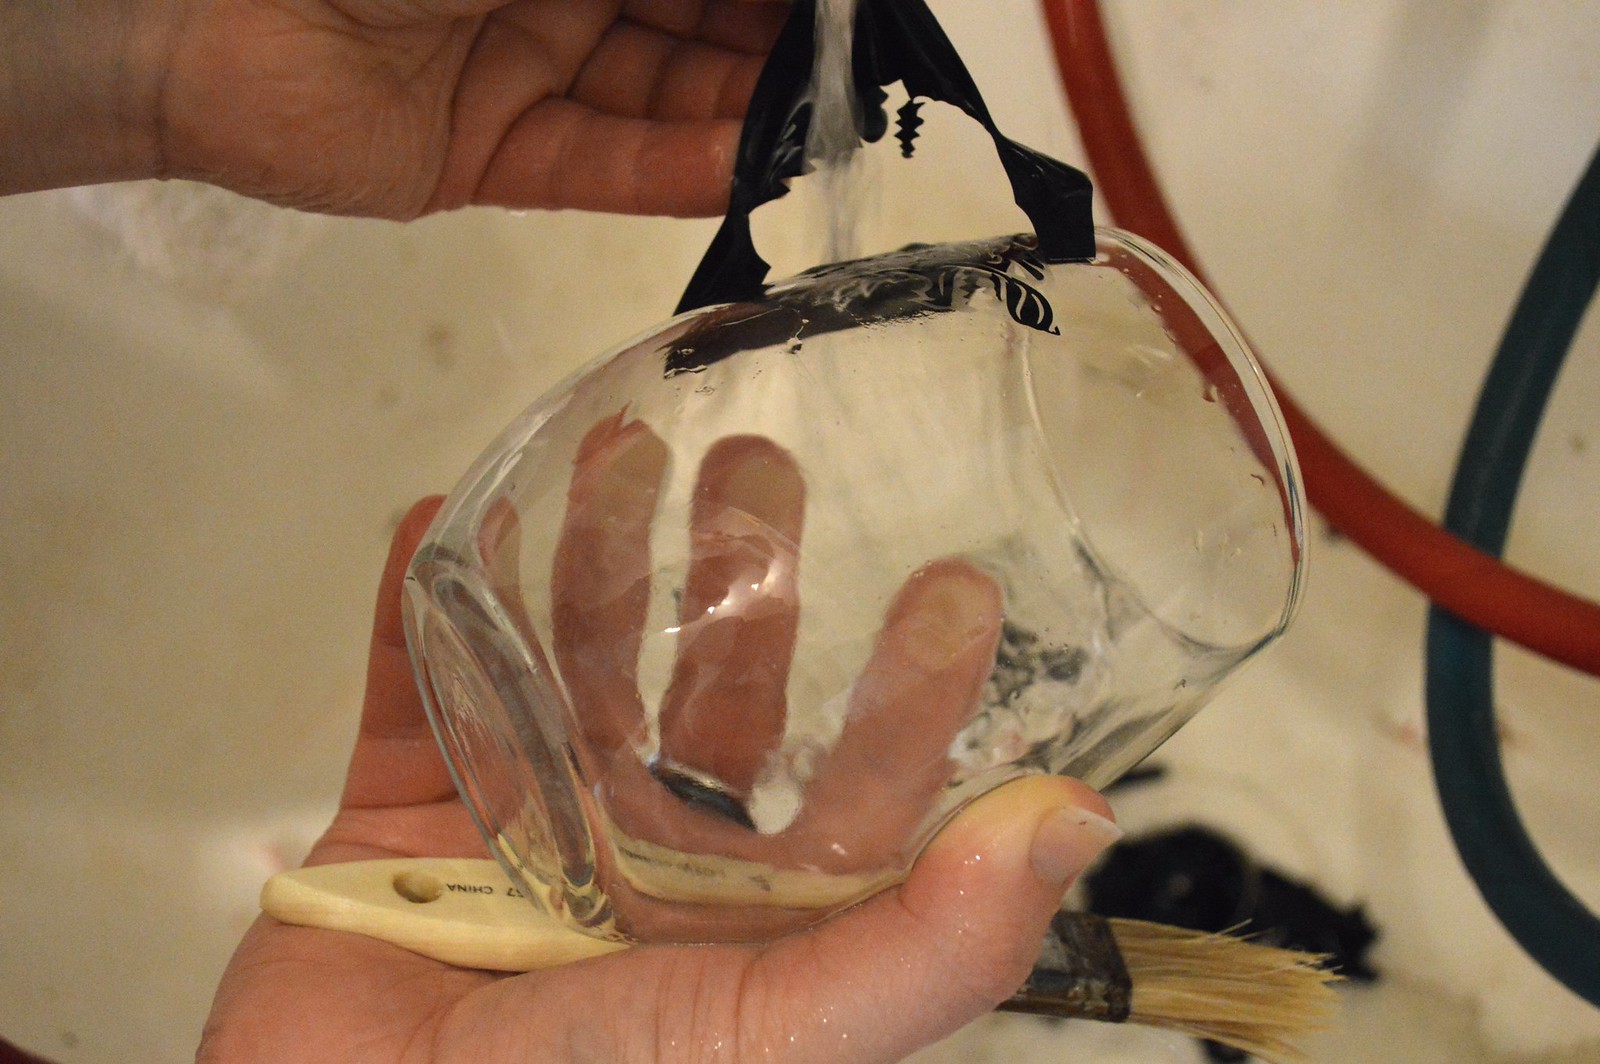
After sitting for the 5 minutes, we peeled the decal off and rinsed thoroughly. Note: despite the lack of them in this photo, definitely wear gloves for this stage. It will make it harder to peel the decals, but good heavens, why risk getting something that eats glass on your fingers.
I also recommend having your visiting guests help. Having an artist in residence definitely speeds the process up!
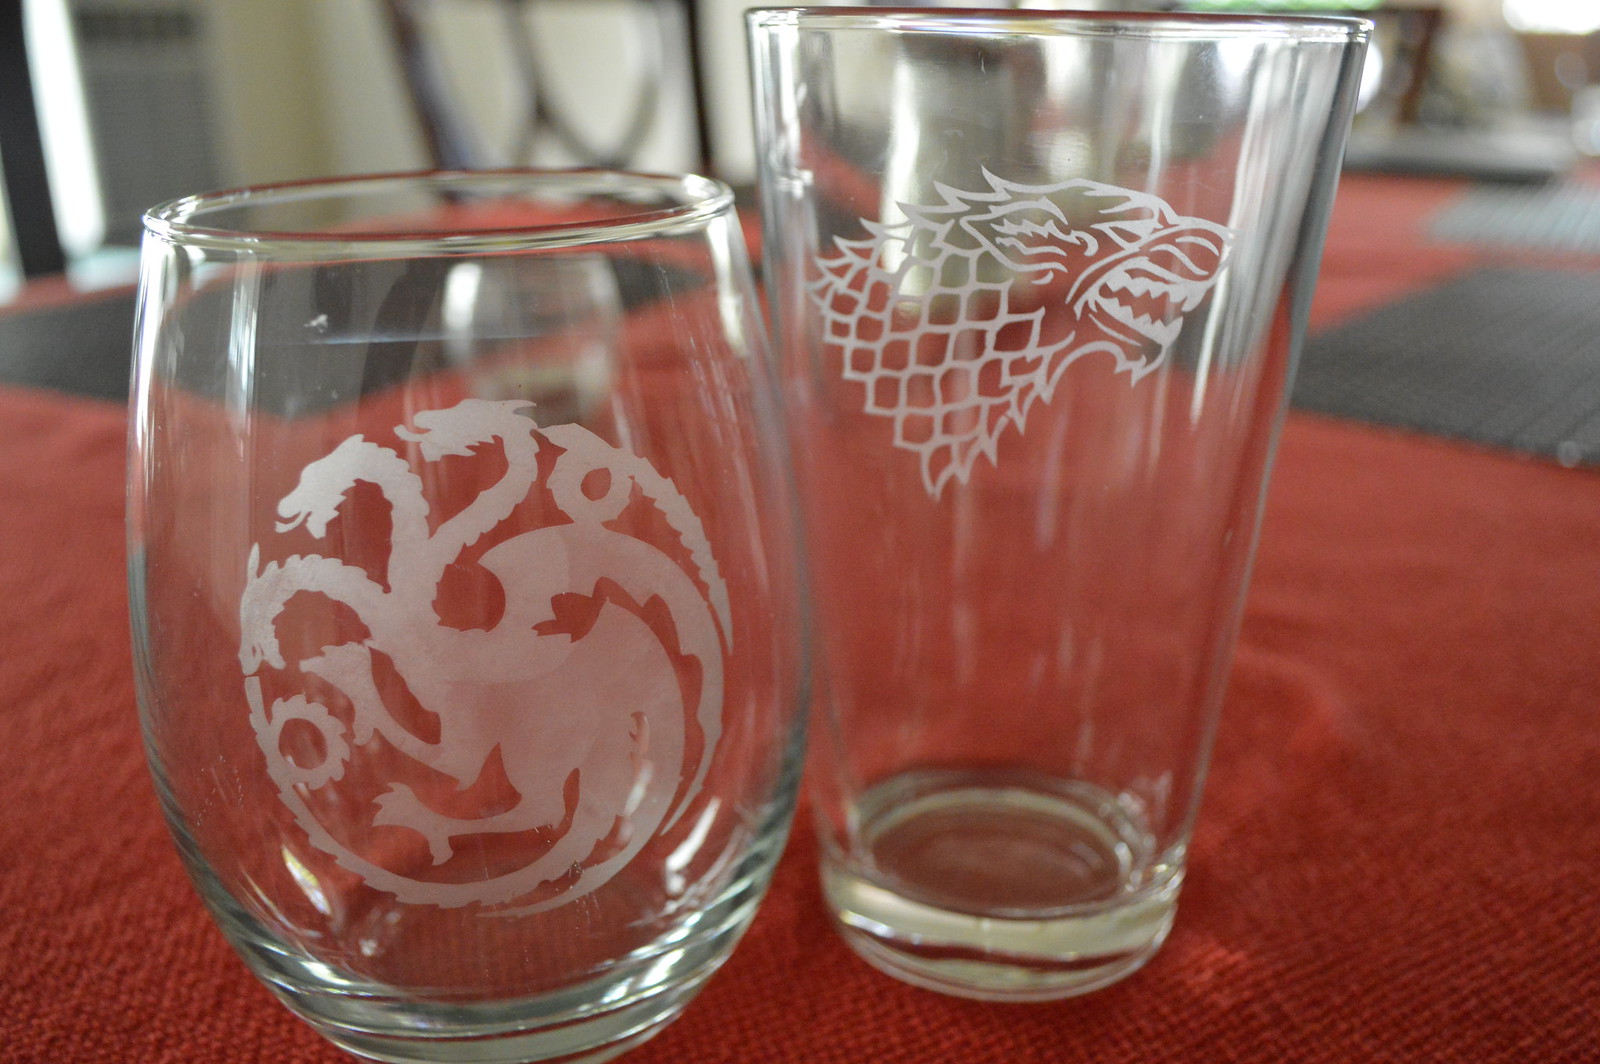
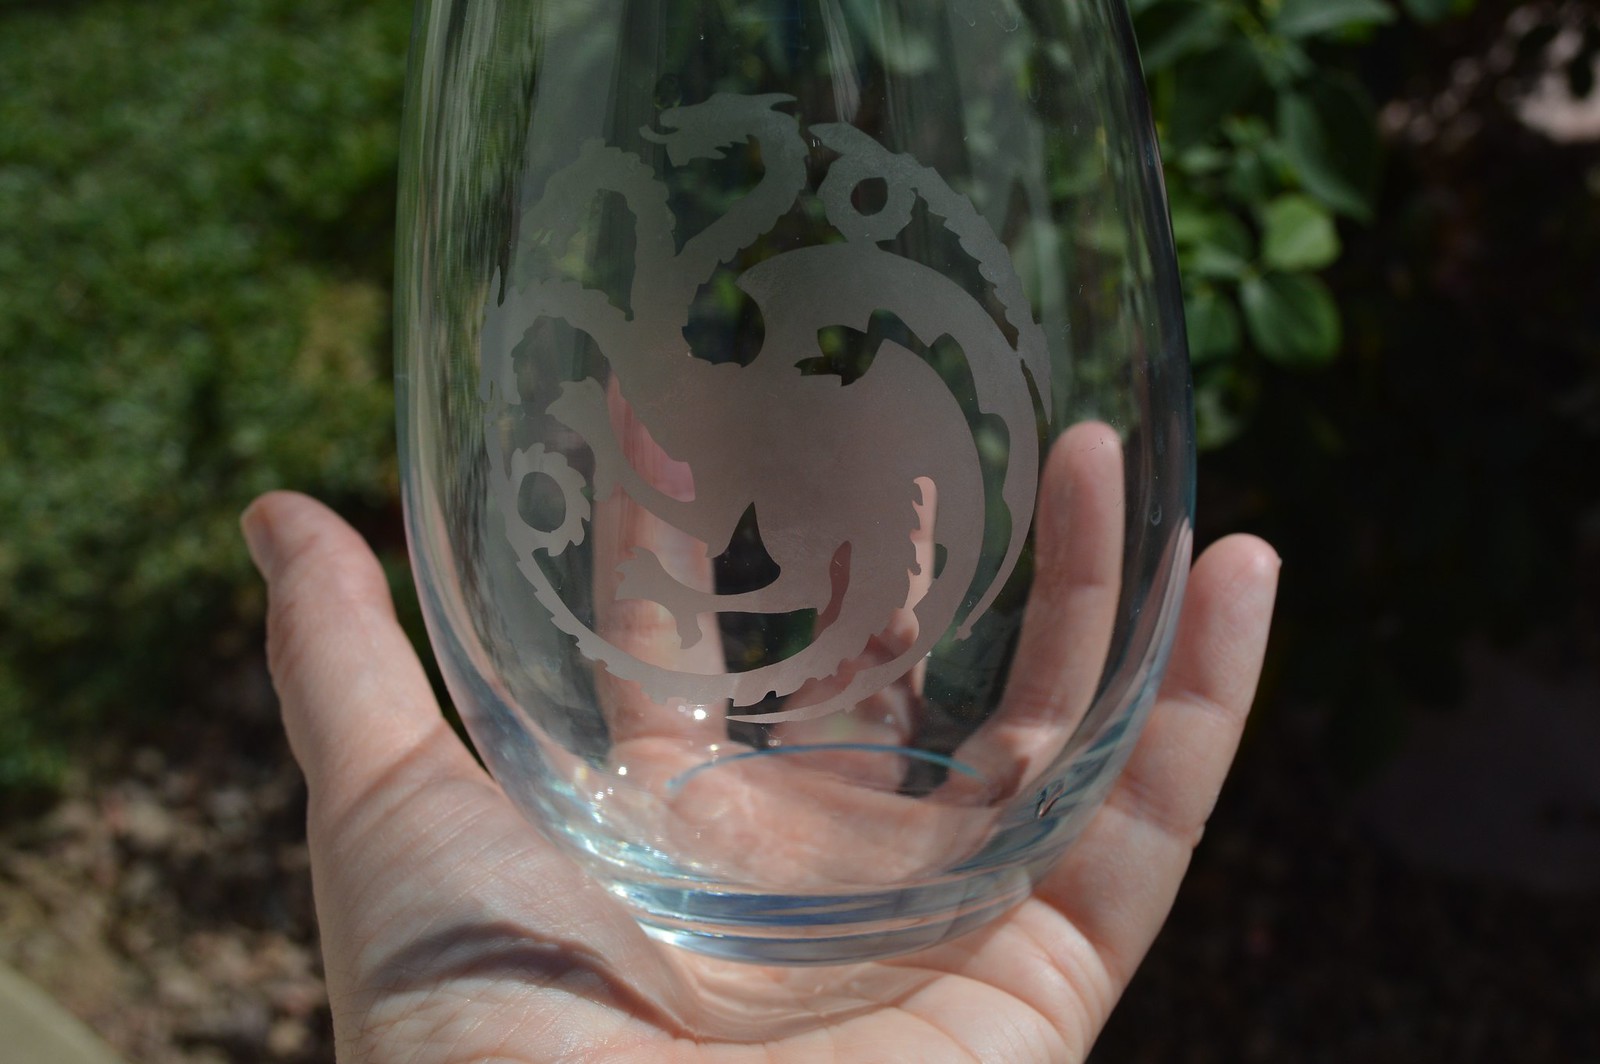
After they are all rinsed (and you are basking in your etched glass glory), your design will be permanently on the glass. That means you can run them through the dishwasher before use and treat them like any other glass - there is zero risk of it 'fading.'
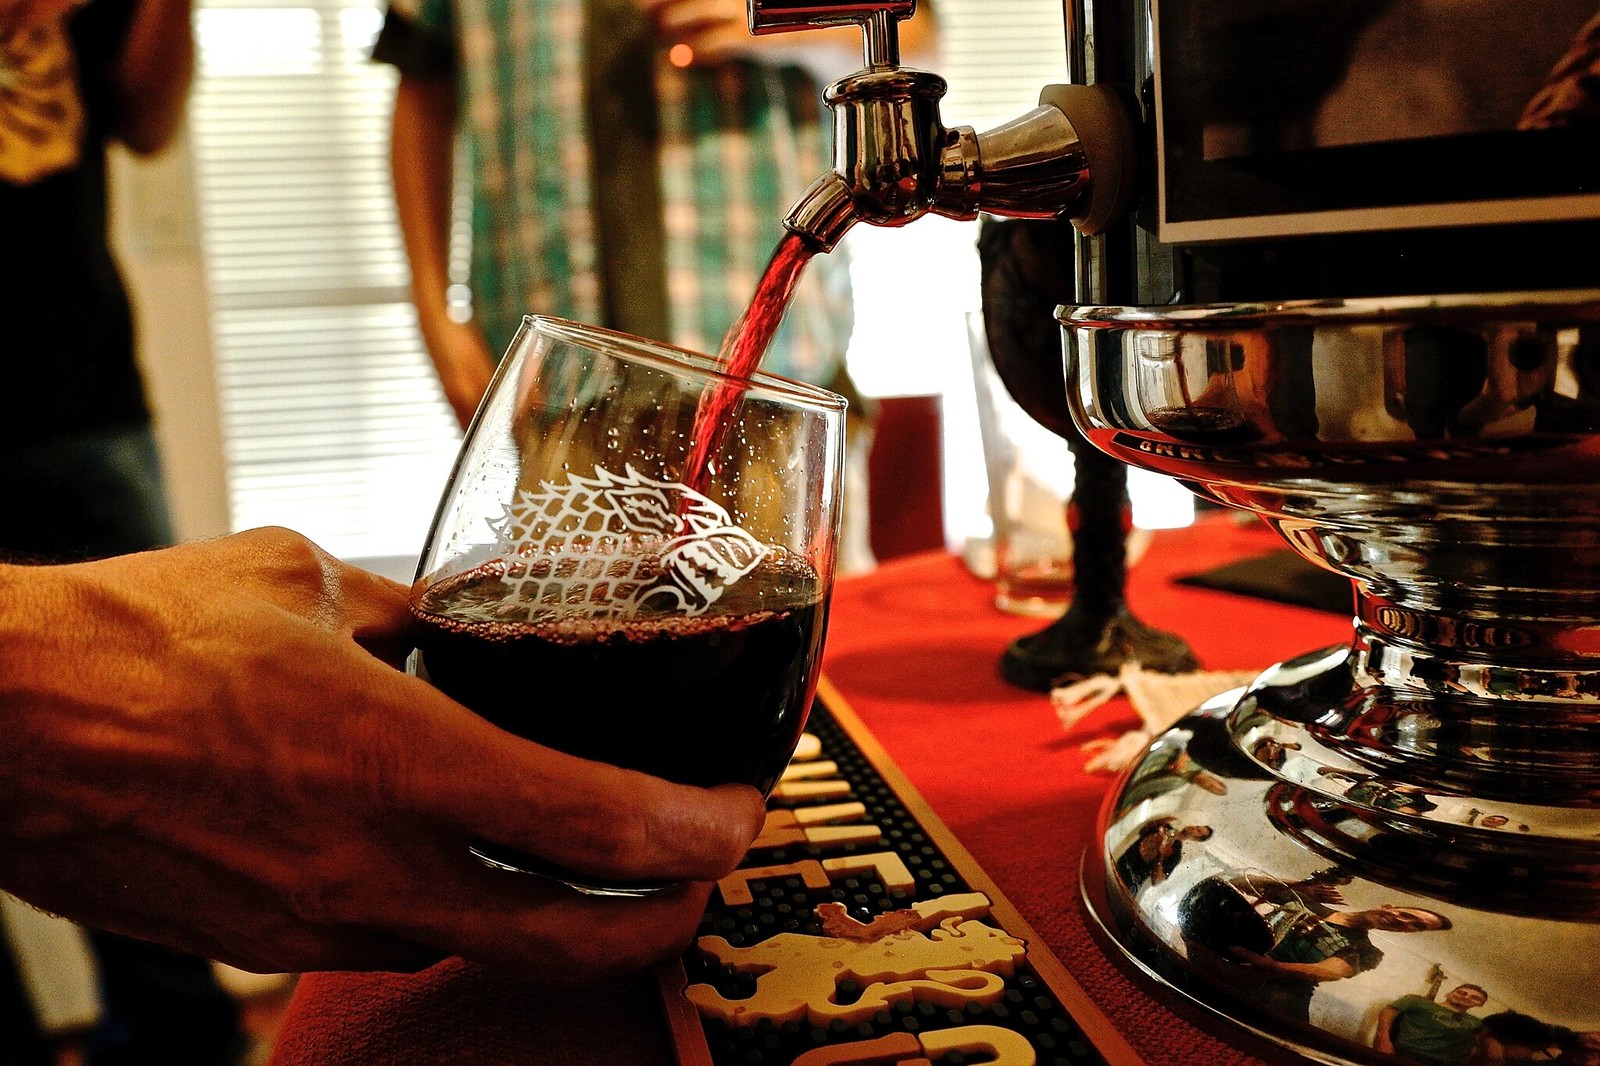 |
| ...wow that glass really filled up since the beginning of the blog post. |
Et voila! I totalled an average cost of $2 a glass for this project, a big savings compared to the $10 HBO versions.
...and, after all this, I naturally forgot to tell people to take them as favors at the end of the party. Whoopsie daisy. I am now the proud owner of several dozen Game of Thrones glasses! Thank goodness for the return of the show and inevitable parties.
This so wraps the Game of Thrones party posts! I hope that this was helpful in your own party planning, and feel free to reach out about any questions you may have.
Valar Morghulis!





.jpg)
